How to Turn a Video into a Blog Post, Step by Step
A step-by-step method for turning a video into a readable, search-friendly blog post, by hand or with an AI tool.

Updated
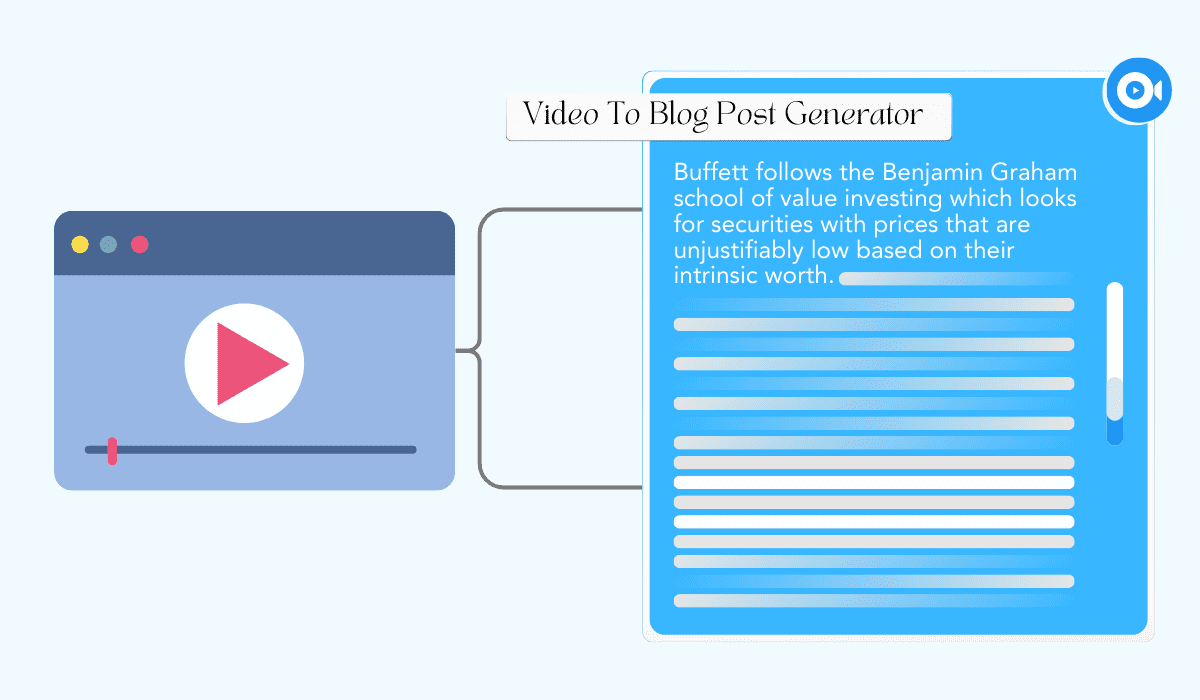
To convert a video into a blog post, get a transcript of the video, decide what single question the post will answer, outline it from the video’s main sections, and rewrite the spoken content into written paragraphs instead of pasting the transcript. Then add screenshots or the embedded video, optimize the headings for search, and edit before you publish. An AI tool can do the transcript, outline and first draft for you, but the editing step is still yours.
This guide is about turning an existing video into a written article. If you came here looking for how to start a video blog (a vlog), that’s a different task, and this page won’t cover it.
The short version:
- Get the transcript (or an AI summary) of the video.
- Choose a companion post or a standalone article, and the main question it answers.
- Outline from the video’s chapters or key points.
- Rewrite speech into readable text.
- Add visuals, the embedded video and timestamps.
- Optimize for search and add internal links.
- Edit, fact-check and publish.
Before You Start: Companion Post or Standalone Article?
Decide what kind of post you’re making, because it changes how much you rewrite:
- Companion post: a written version of the video, published alongside it with the video embedded. It follows the video’s order and is best for tutorials, webinars and talks where readers may want to watch too.
- Standalone article: the video is your research. You keep its best points but restructure them around a search query, add context the video skipped and cut anything that only worked on screen. This is the better choice when the video is long, conversational or covers several topics. Those can become several posts.
If the video isn’t yours, check you have the right to reuse it, and credit and link the original. See our guide to repurposing other people’s content for where the lines are.
Step-by-Step: Converting a Video into a Blog Post
1. Get a transcript or summary
You need the video’s words in text form. Options:
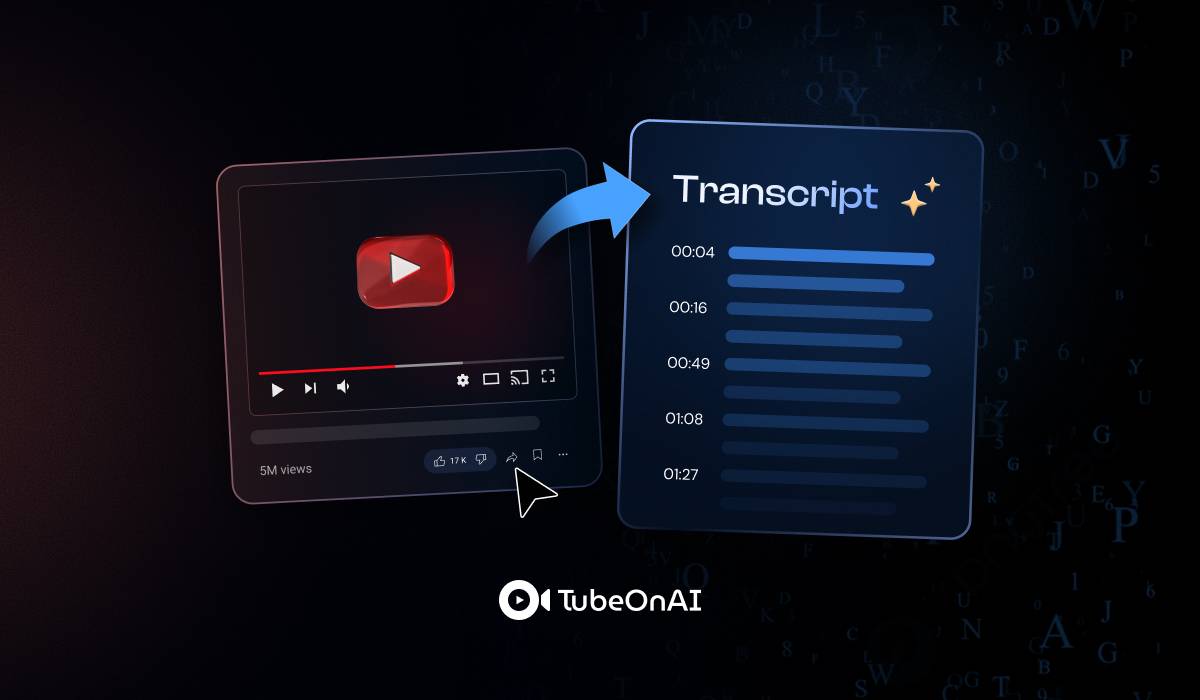
- YouTube’s own transcript: on most videos with captions, open the description and click “Show transcript.”
- A transcription tool: see our roundup of YouTube transcription Chrome extensions, or transcribe a video stored in Google Drive.
- An AI summarizer: tools like TubeOnAI can summarize a YouTube video even when it has no transcript, which gives you the key points to build from.
Auto-generated captions get names and technical terms wrong, so treat them as raw material, not finished copy.
2. Pick the angle and the main question
Videos often wander. A blog post that ranks usually answers one clear question. Look at the transcript and ask: what would someone type into Google to find this? Use that question to shape your title, first paragraph and headings. Anything that doesn’t serve it can be cut, or saved for a second post.
3. Outline from the video’s structure
Use the video’s chapters, slides or natural topic changes as the skeleton:
- Turn each major section into an H2 or H3 heading.
- Under each heading, note the two or three points the speaker makes, and any examples, numbers or steps.
- Put the answer to your main question near the top, even if the video builds up to it slowly.
4. Rewrite speech into readable text
This is where most video-to-blog conversions fall short. Spoken language doesn’t read well on the page:
- Cut filler (“so, um, basically”), repeated points and tangents.
- Replace references to the screen (“as you can see here”) with a description or a screenshot.
- Break long spoken runs into short paragraphs, lists and numbered steps.
- Add context a viewer would get visually but a reader wouldn’t, such as what a chart shows or what was clicked.
- Keep the speaker’s voice and best lines. Quote memorable phrases word for word and attribute them.
5. Add visuals and the video itself
- Screenshots of key moments, especially for tutorials, with captions explaining what each shows.
- The embedded video, near the top for a companion post or where it’s most relevant for a standalone one. Readers who prefer watching can switch formats.
- Timestamped links to specific moments, so readers can jump to the part of the video a section covers.
6. Optimize for search
- Use your main question or keyword in the title, the first paragraph and at least one heading.
- Write a meta description that says what the reader will learn.
- Add internal links to related posts on your site, and link back to the video on YouTube.
- Give images descriptive alt text.
Semrush has a good overview of on-page strategies if you want to go further.
7. Edit, fact-check and publish
Read the post as someone who hasn’t seen the video. Does it make sense on its own? Check names, figures and quotes against the video, fix anything an AI draft or auto-caption got wrong, and add your own insight where you can. Then publish, and share it wherever you shared the video.
Also read: Free YouTube Video Script Generator
Doing It Faster with TubeOnAI
If you’d rather not draft from scratch, an AI tool can handle steps 1–4 and give you a first draft to edit. Here’s how it works in TubeOnAI, which summarizes video and then repurposes it into other formats, including blog posts.
1. Open TubeOnAI
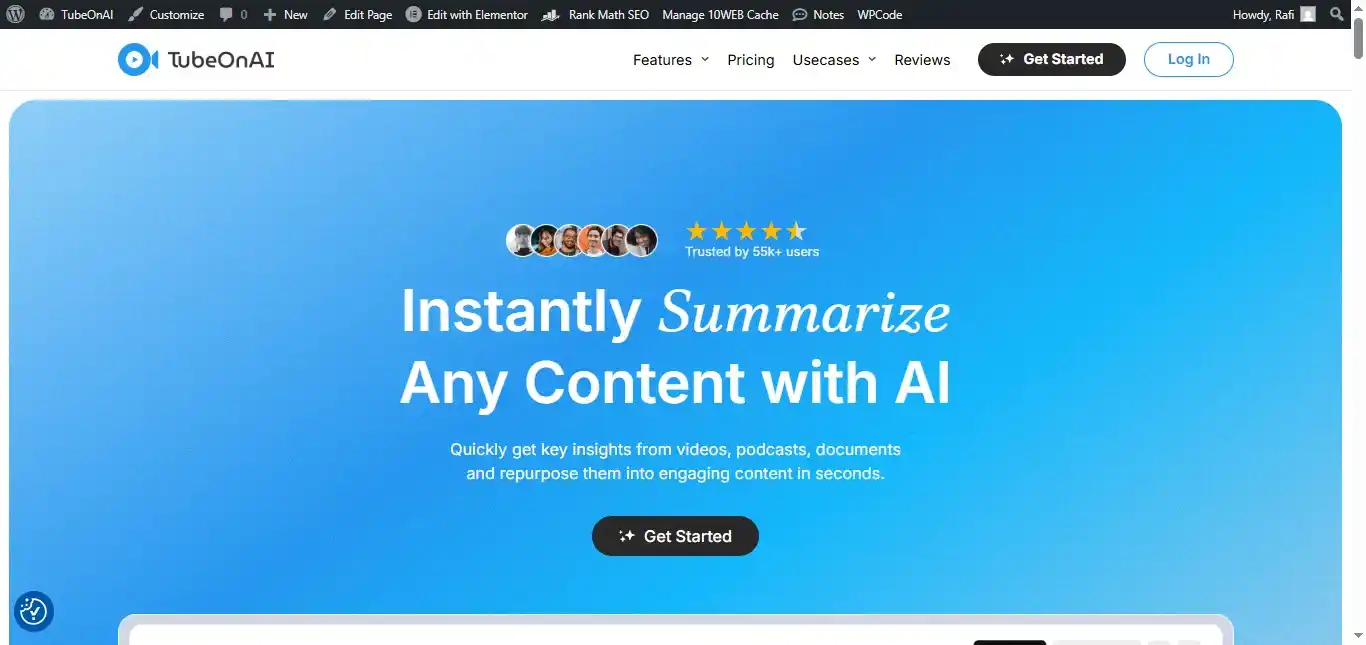
TubeOnAI runs in the browser (web app), as a Chrome extension and on iOS and Android. Create a free account to start. The free Starter plan includes 400 credits.
2. Add your video
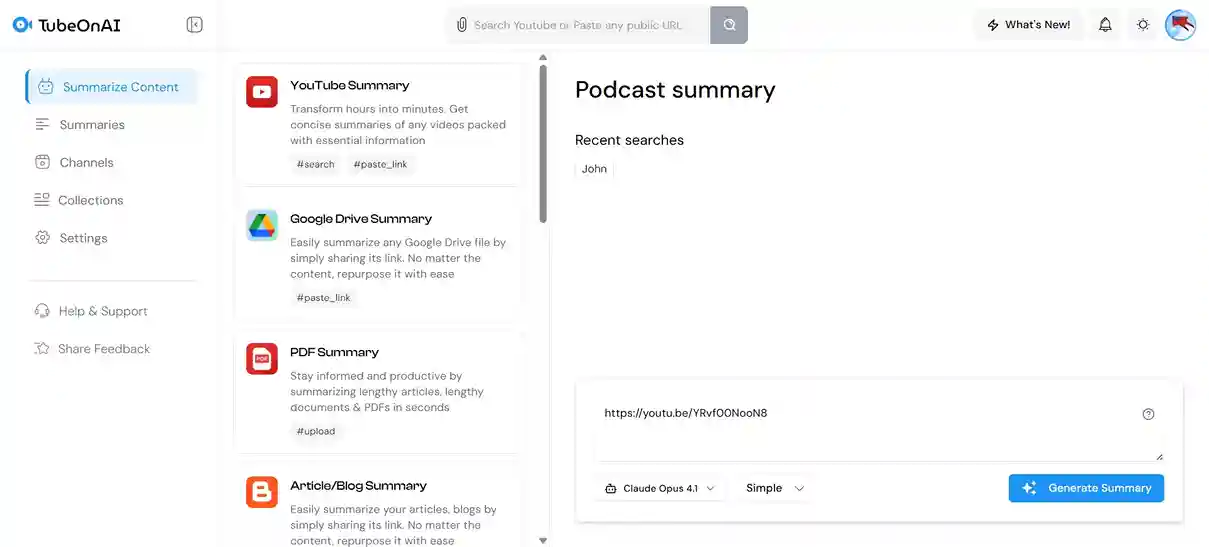
Paste a public video link (YouTube and other supported sites) or upload your own video file. You can also summarize Google Drive files.
3. Generate the summary
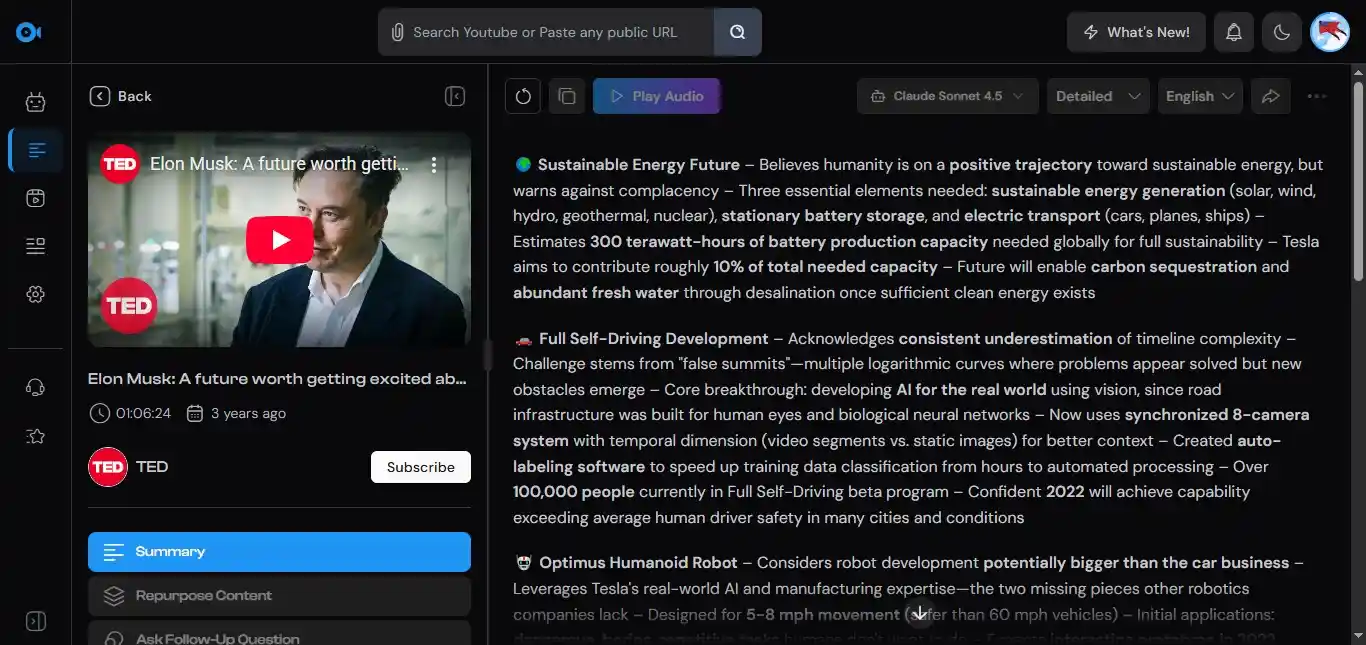
TubeOnAI summarizes the video into its key points. It works on long videos and on YouTube videos without a transcript.
4. Review the summary
Check that the summary covers the points you want in the post. This is your outline, so fix it now, before it becomes a draft.
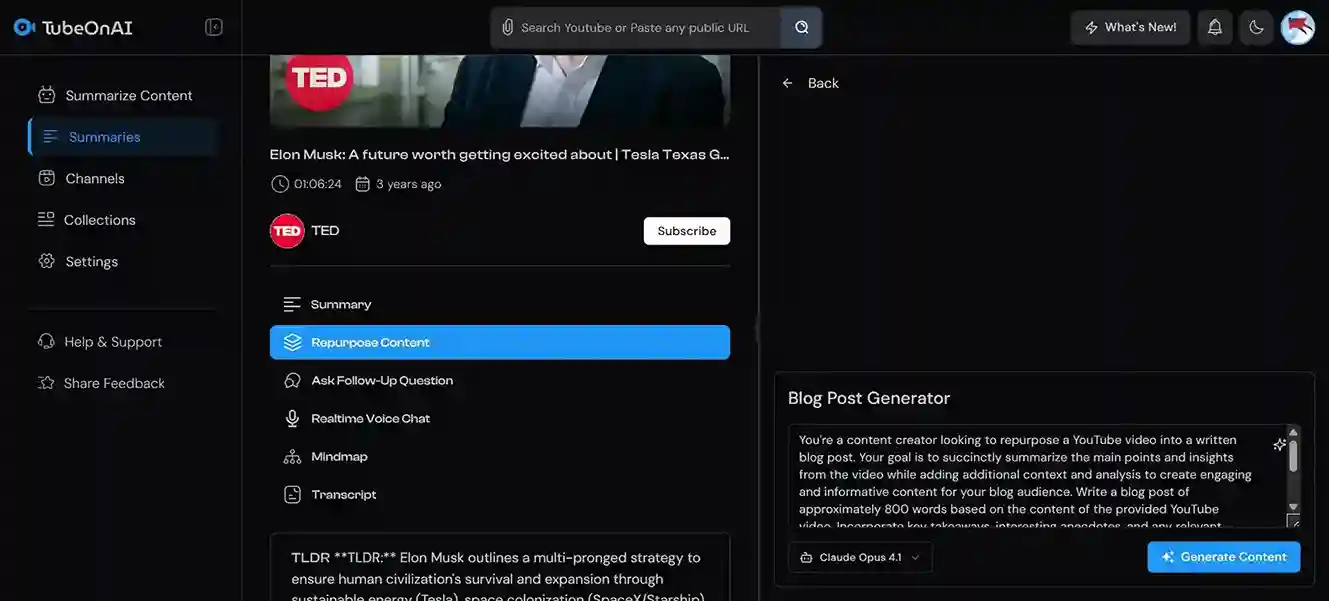
5. Turn the summary into a blog post
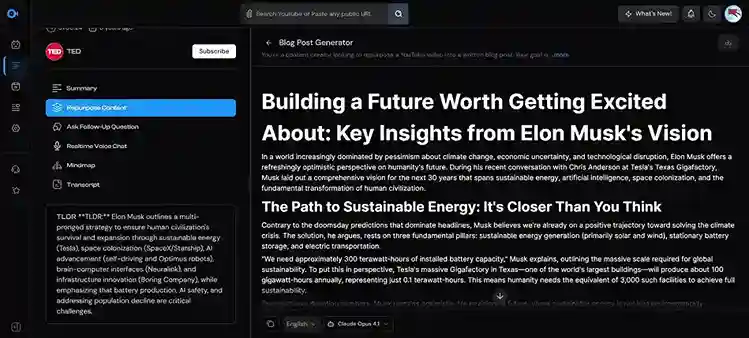
Use TubeOnAI’s Repurpose Content feature and choose the blog post generator. It has 150+ repurposing templates, and you can write a custom prompt to set the tone, length or angle. If you only need a quick draft from a YouTube link, there’s also a dedicated YouTube to blog post generator.
6. Edit and publish
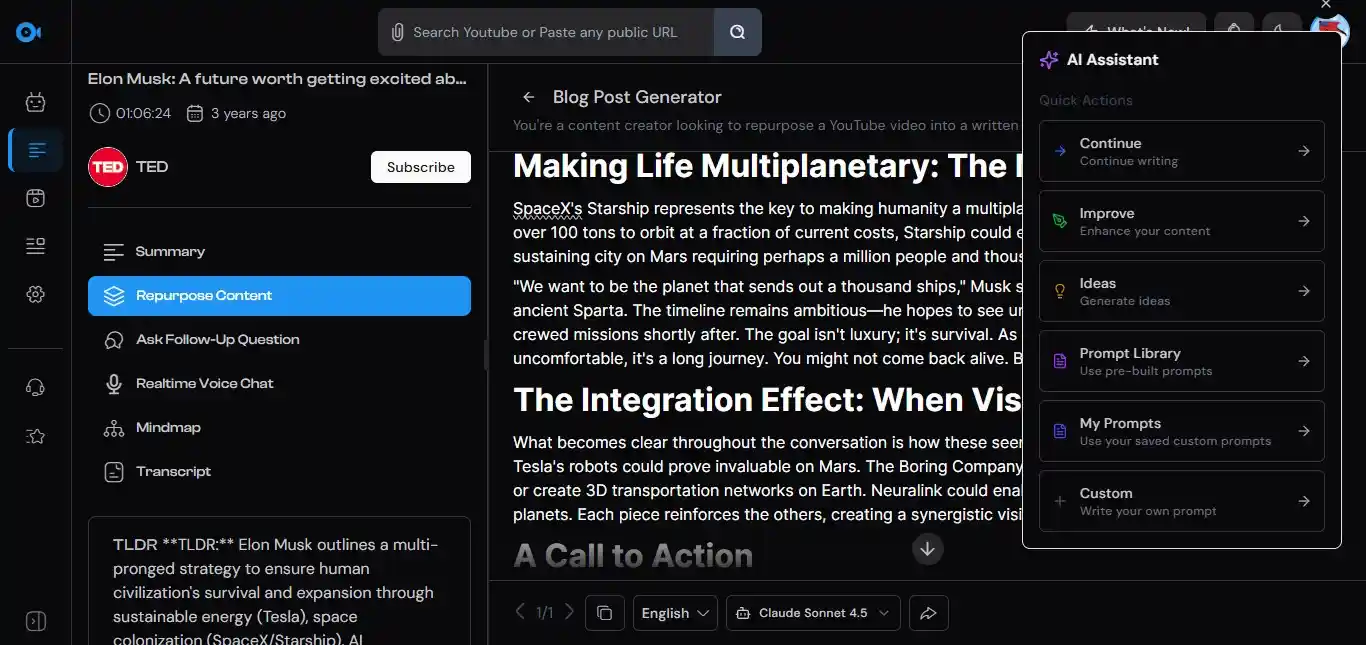
Treat the output as a draft. Apply steps 4–7 above: rewrite in your voice, add screenshots and the embed, optimize and fact-check.
Why Turn Videos into Blog Posts?
- Search visibility: a written post gives search engines text to index and rank, separate from the video itself.
- Readers who prefer text: some people would rather skim a step-by-step guide than watch a 20-minute video.
- Accessibility: a written version helps people who are deaf or hard of hearing, or who can’t play audio where they are.
- More from the same work: one recording becomes another asset. That’s the core idea of content repurposing.
- More engagement: a post with an embedded video gives visitors two ways to engage, which can keep them on the page longer. Neil Patel explains why dwell time matters.
What to Look for in a Video-to-Blog Tool
- Input types: does it accept the platforms you use (YouTube links, uploaded files, cloud storage)?
- Output options: beyond blog posts, can it produce social media snippets, newsletters or threads from the same video?
- Control over the draft: can you set tone, length and structure, or use a custom prompt?
- Accuracy: compare a draft against the video. The tool should keep the speaker’s meaning, not invent points.
- Cost: check how many videos the free tier covers before you commit.
Frequently Asked Questions
How does AI turn a video into a blog post?
AI tools transcribe the video’s audio (or work from existing captions), identify the main themes, and use a language model to write them up as structured text with headings. The result is a draft that follows the video’s message, which you then edit.
Can I just publish the transcript as a blog post?
You can, but it rarely reads well or ranks well. Transcripts are full of filler and spoken phrasing, and they lack headings. Use the transcript as source material and rewrite it, as in step 4.
Is it necessary to edit the AI-generated blog post?
Yes. AI gives you a solid first draft, but you still need to check facts and quotes, add your own insight and make the post sound like you.
Can AI handle all types of video content?
AI can work with interviews, tutorials, vlogs, webinars and lectures. Quality depends on audio clarity, how structured the video is and how much specialized jargon or terminology it uses. Expect to correct more in technical or multi-speaker videos.
Is AI-generated content optimized for SEO?
Partly. AI can structure a post with headings and include keywords you give it. You’ll still want to choose the target query, write the title and meta description, and add internal links yourself.